Marketing Communication
In a crowded marketplace that seems to get more competitive every day, good marketing communication is a lifeline to the…
Read Article


Choosing your next acquisition? Looking deeper than the financials will save you pain and lost profit.
Get the Full Report
Acquisition complete? It’s time to integrate smoothly and turn challenges into triumphs.
Access the Knowledge
Merger not living up to the board’s expectations? It’s time to fix it.
Read the Full Insights
Need nurses now? You must revolutionize your recruitment approach and outpace competitors.
Download the Guide
In a crowded marketplace that seems to get more competitive every day, good marketing communication is a lifeline to the…
Read Article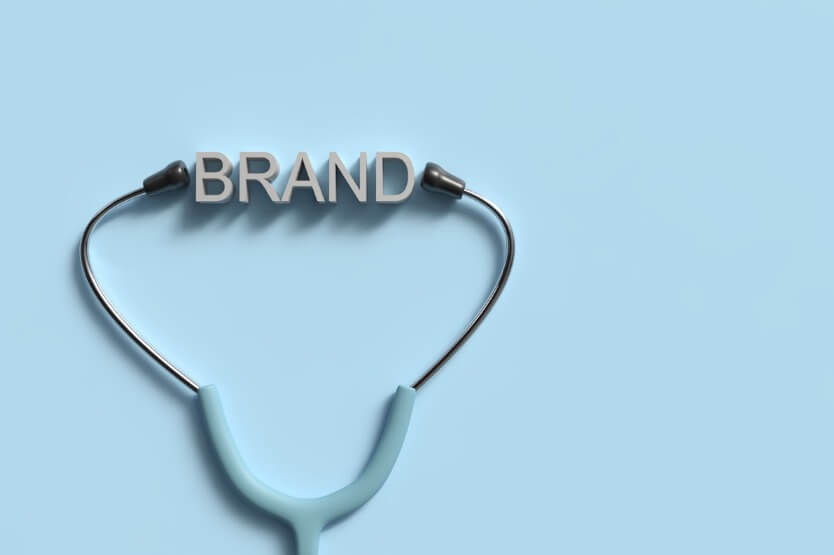
To succeed, healthcare organizations must continuously adapt and innovate not only in their medical offerings but also in how they…
Read Article
In the rapidly changing world of healthcare, effective marketing is more important than ever. Hospitals, clinics, medical practices, and healthcare…
Read ArticleLISTEN NOW //
The Healthcare CEO Show brings together leading voices from across the healthcare industry to delve into the forces shaping healthcare today. From innovation and strategy to culture and technology, we’re on a mission to unearth the insights and stories of healthcare’s most influential leaders.
Inside the Episodes
Length: 27:33 minutes
Length: 36:11 minutes
Length: 29:40 minutes


